Inspectial
Commercial roof inspection checklist
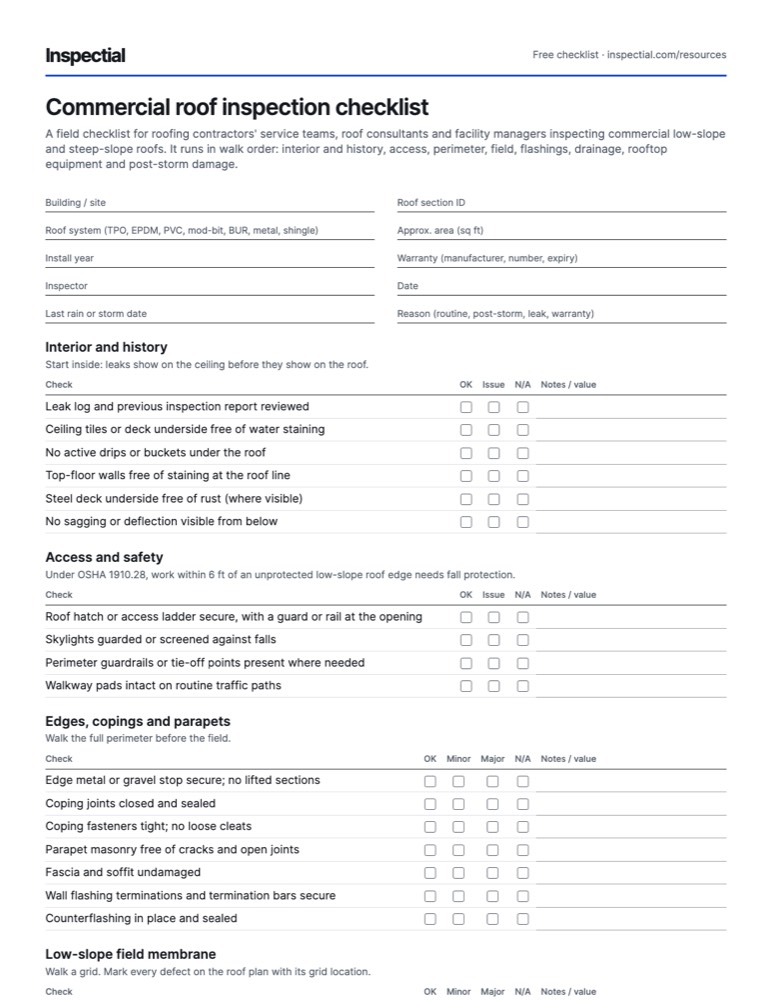
A field checklist for roofing contractors' service teams, roof consultants and facility managers inspecting commercial low-slope and steep-slope roofs. It runs in walk order: interior and history, access, perimeter, field, flashings, drainage, rooftop equipment and post-storm damage.
What is a roof inspection checklist?
A roof inspection checklist is a field form for recording the condition of a roof section: the membrane or covering, seams, flashings, edges, drains, penetrations and rooftop equipment, plus interior signs of leaks. Each defect is logged with its location, a photo and a priority, and the section gets an overall condition rating for repair and budget planning.
When to inspect
Most roofing manufacturers require owner inspections once or twice a year, usually spring and fall, to keep a warranty valid. Inspect again after any major storm (hail, high wind, heavy snow) and whenever a leak is reported.
The checklist
Every row is one observable check. Mark one answer per row and write what you saw or measured; the PDF adds a findings table and sign-off.
Header
- Building / site
- Roof section ID
- Roof system (TPO, EPDM, PVC, mod-bit, BUR, metal, shingle)
- Approx. area (sq ft)
- Install year
- Warranty (manufacturer, number, expiry)
- Inspector
- Date
- Last rain or storm date
- Reason (routine, post-storm, leak, warranty)
Interior and history
Start inside: leaks show on the ceiling before they show on the roof.
| Check | OK | Issue | N/A | Notes / value |
|---|---|---|---|---|
| Leak log and previous inspection report reviewed | ||||
| Ceiling tiles or deck underside free of water staining | ||||
| No active drips or buckets under the roof | ||||
| Top-floor walls free of staining at the roof line | ||||
| Steel deck underside free of rust (where visible) | ||||
| No sagging or deflection visible from below |
Access and safety
Under OSHA 1910.28, work within 6 ft of an unprotected low-slope roof edge needs fall protection.
| Check | OK | Issue | N/A | Notes / value |
|---|---|---|---|---|
| Roof hatch or access ladder secure, with a guard or rail at the opening | ||||
| Skylights guarded or screened against falls | ||||
| Perimeter guardrails or tie-off points present where needed | ||||
| Walkway pads intact on routine traffic paths |
Edges, copings and parapets
Walk the full perimeter before the field.
| Check | OK | Minor | Major | N/A | Notes / value |
|---|---|---|---|---|---|
| Edge metal or gravel stop secure; no lifted sections | |||||
| Coping joints closed and sealed | |||||
| Coping fasteners tight; no loose cleats | |||||
| Parapet masonry free of cracks and open joints | |||||
| Fascia and soffit undamaged | |||||
| Wall flashing terminations and termination bars secure | |||||
| Counterflashing in place and sealed |
Low-slope field membrane
Walk a grid. Mark every defect on the roof plan with its grid location.
| Check | OK | Minor | Major | N/A | Notes / value |
|---|---|---|---|---|---|
| No splits or cracks in the membrane | |||||
| No punctures or cuts | |||||
| No blisters | |||||
| No ridging or wrinkles | |||||
| No shrinkage pulling at corners, curbs or edges | |||||
| Seams and laps closed; no fishmouths | |||||
| Previous patches bonded and sealed | |||||
| Surfacing, granules or coating intact (mod-bit, BUR, coated roofs) | |||||
| No ponding (water that remains 48 hours after rain) or stain rings | |||||
| No soft or spongy areas underfoot (possible wet insulation) | |||||
| Ballast evenly spread (ballasted roofs) | |||||
| No debris, foreign objects or vegetation on the field |
Steep-slope and metal roofs
Only for steep-slope or metal sections. Check each slope, ridge, valley and eave.
| Check | OK | Minor | Major | N/A | Notes / value |
|---|---|---|---|---|---|
| Shingles or tiles: none missing, lifted or creased | |||||
| Shingles: no exposed mat or heavy granule loss | |||||
| Ridge and hip caps secure | |||||
| Valleys clear and their metal intact | |||||
| Metal panels: no corrosion or open seams | |||||
| Metal panel fasteners tight, with sealing washers in place | |||||
| Step and chimney flashing intact |
Flashings and penetrations
| Check | OK | Minor | Major | N/A | Notes / value |
|---|---|---|---|---|---|
| Base flashings at walls and curbs adhered; no separation | |||||
| Pipe and vent boots intact, with clamps tight | |||||
| Pitch pans filled and sealed | |||||
| Equipment curbs flashed to full height | |||||
| Expansion joints intact and covered | |||||
| Skylight frames sealed and glazing undamaged | |||||
| Sealant at penetrations intact; not relied on as the only seal |
Drainage
Record each drain or scupper ID so the next inspector checks the same ones.
| Check | OK | Minor | Major | N/A | Notes / value |
|---|---|---|---|---|---|
| Roof drains clear of debris | |||||
| Drain strainers or domes present and secured | |||||
| Drain clamping rings tight | |||||
| Overflow drains or scuppers clear | |||||
| Scuppers and conductor heads clear and sealed | |||||
| Gutters attached and free of debris | |||||
| Downspouts connected and discharging away from the building |
Rooftop equipment and accessories
| Check | OK | Minor | Major | N/A | Notes / value |
|---|---|---|---|---|---|
| HVAC units and exhaust fans secured to curbs | |||||
| Equipment access panels closed | |||||
| No condensate discharging onto the membrane | |||||
| Piping and conduit supported on pipe supports, not on the membrane | |||||
| Lightning protection, antennas and solar racks attached and flashed | |||||
| No oil, grease or chemical discharge on the membrane |
Post-storm damage
Only after hail, high wind or heavy snow. Date the storm in the header.
| Check | Yes | No | N/A | Notes / value |
|---|---|---|---|---|
| Hail marks on soft metals (vents, flashing, AC fins) recorded | ||||
| Hail impacts on the membrane or covering, with size noted | ||||
| Wind-lifted or displaced membrane, edge metal or panels | ||||
| Missing or displaced rooftop equipment or covers | ||||
| Debris impact damage | ||||
| Snow or ice load causing deflection or blocked drains | ||||
| Temporary repairs made, with location recorded |
Roof section condition
Rate the asset by its worst defect, best to worst.
- Good
- Watertight and performing. Isolated minor defects at most; routine maintenance.
- Fair
- Localized defects such as open laps, minor ponding or worn flashings. Repair within the maintenance cycle.
- Poor
- Widespread or active defects: splits, punctures, failed flashings, blocked drainage. Repair soon or plan restoration.
- Critical
- Active leaks, storm damage exposing the deck, or structural concerns. Immediate action.
Photos to take
- Roof section overview from each corner
- Each roof drain and scupper
- Perimeter edge and coping, one per elevation
- Each rooftop unit and its curb flashing
- Interior leak locations, with the ceiling and floor in frame
- Close-up of every defect, with a scale reference
- Wide shot locating every defect against a fixed reference (unit, drain, corner)
- Hail-damaged soft metals after a storm
Field tips
- Go inside first. A ceiling stain tells you where to look on the roof, and water travels before it drips.
- Locate every defect against something fixed, like a drain ID or a rooftop unit. A close-up alone cannot be found again.
- Photograph defects with a scale in frame. Blister and puncture size decide whether it is a repair or a replacement.
- Inspect a day or two after rain to see ponding. Water still on the roof after 48 hours counts as ponding.
- Sealant is maintenance, not a flashing. Note any penetration that depends on caulk alone.
- Keep the dated report. Manufacturers can deny warranty claims if the owner can't show inspection and maintenance records.
Standards and sources
Checked against these sources on . Your agency's own manual takes precedence.
Questions
How often should a commercial roof be inspected?
At least twice a year, usually in spring and fall, plus after any major storm. Most manufacturers require regular owner inspections and maintenance records to keep the warranty valid, and the dated report is what you show when you file a warranty or insurance claim.
What counts as ponding on a flat roof?
NRCA defines ponding as water that remains on the roof 48 hours after the last rain, under conditions that allow drying. Water that evaporates sooner is normal. Ponding speeds up membrane wear, adds load and often points to a blocked drain or a deflected deck.
What are the most common commercial roof defects?
Open seams and laps, failed base flashings at walls and curbs, punctures from foot traffic and dropped tools, clogged drains, blisters, shrinkage at the perimeter, and loose edge metal or coping. Most leaks start at flashings and penetrations, not in the open field.
What should I check after a hail storm?
Start with soft metals: dents and spatter marks on vents, flashings and AC fins show hail size and direction. Then check the membrane or shingles for impacts, punctures and fractures, and photograph each one with a scale. Functional hail damage on shingles often needs touch or lifting to confirm, not just a photo.
Do I need fall protection to inspect a roof?
Under OSHA 1910.28, work within 6 feet of an unprotected low-slope roof edge requires guardrails, a safety net, travel restraint or a personal fall arrest system. From 6 to 15 feet, a designated area can be used for infrequent, temporary work, and beyond 15 feet a work rule can apply. Check your employer's program before going up.
Who can do a roof inspection?
Owners and facility staff can do routine visual checks. Warranty inspections are often done by the manufacturer's certified contractors, and roof consultants such as IIBEC Registered Roof Consultants handle condition surveys, moisture surveys and disputes. Moisture surveys need infrared, nuclear or capacitance equipment, not just a walk.
Do this inspection on your phone: AI drafts it, you approve
Inspectial turns the photos, voice notes and GPS from this checklist into a structured, map-ready inspection record. Every finding links to its photo, and nothing is official until you approve it.
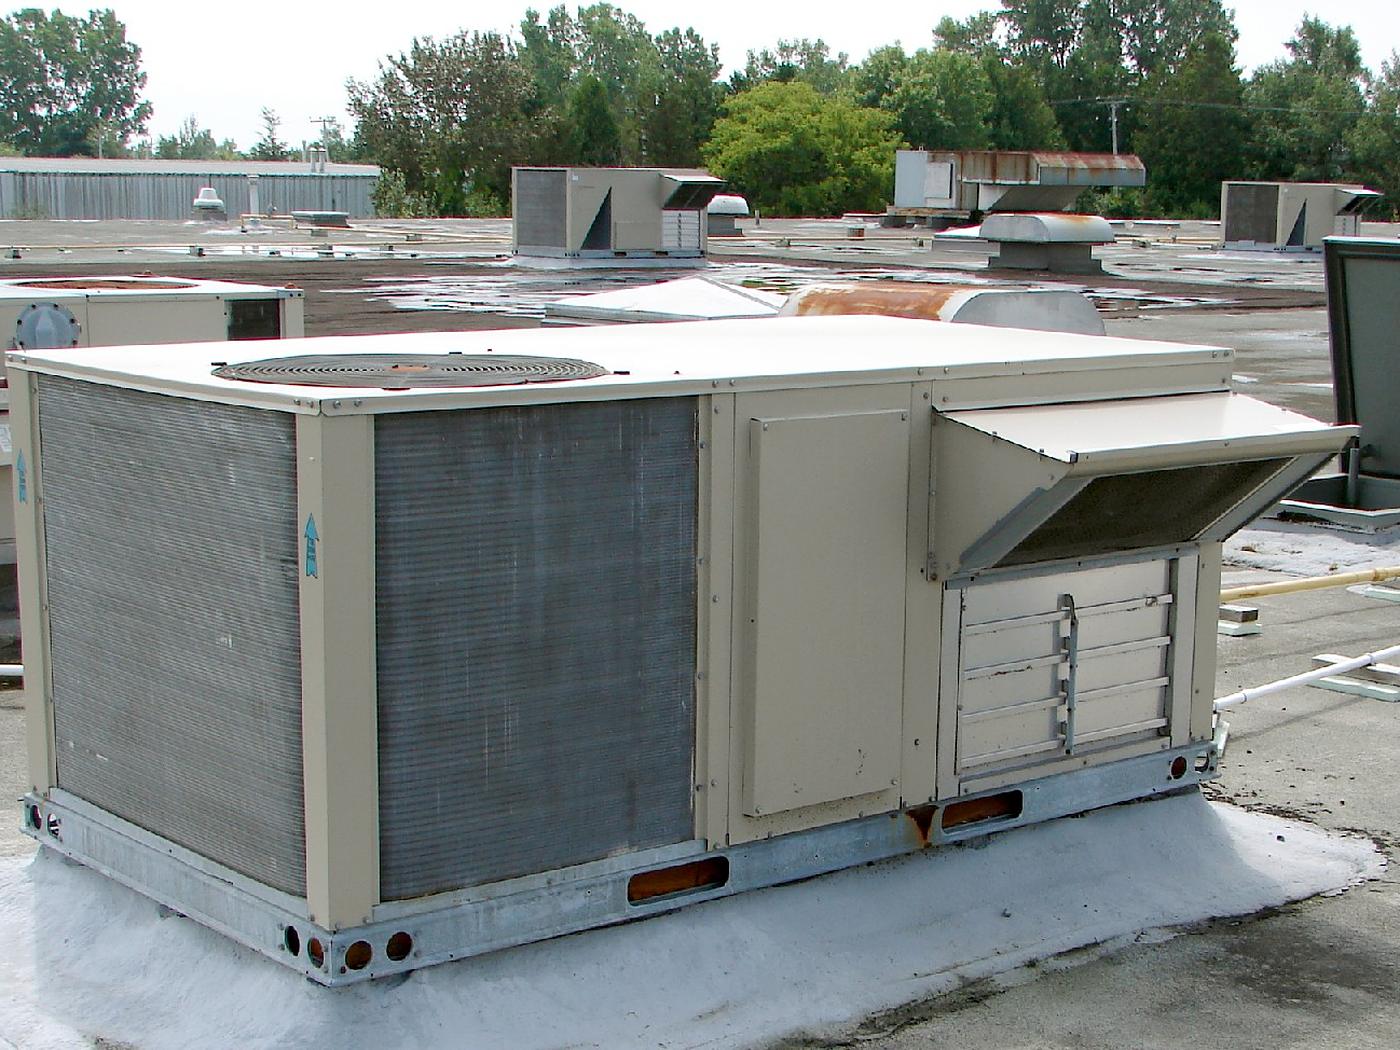
- Equipment curb · flashingcoated, no splits visibleHuman verified
- Rooftop unit · corrosionsurface rust at base railAI suggested
- Field membrane · drainagestanding water (possible ponding)AI suggested